Horizon Forbidden West: Solve Hotbed Theta
In Horizon Forbidden West there are several hatcheries where you can collect information about the various machines in the world in order to be able to bridge them if necessary. In this guide we will show you where you can find this hatchery, how to get in and where you have to walk along in order to bridge the hatchery at the end.
Languages:German English
Platforms:PlayStation 5
With the Burning Shores expansion, there is another hotbed that you can locate with Aloy. The Theta Hatchery is located in East Los Angeles and will require some skill on your part. But don’t worry, we’ll tell you below how to get through the hatchery step by step and where the entrance is at all.
Contents
- 1 Horizon Forbidden West DLC: Hatchery Theta – Find the entrance
- 2 Overcome the first gap in the hatchery using steam
- 3 Draw bridges between the platforms of the Theta Hatchery and move the crate
- 4 Check hovering platform in Hatchery and disable barrier
- 5 Override Spire Bile Boss Fight and Hatchery Core
Horizon Forbidden West DLC: Hatchery Theta – Find the entrance
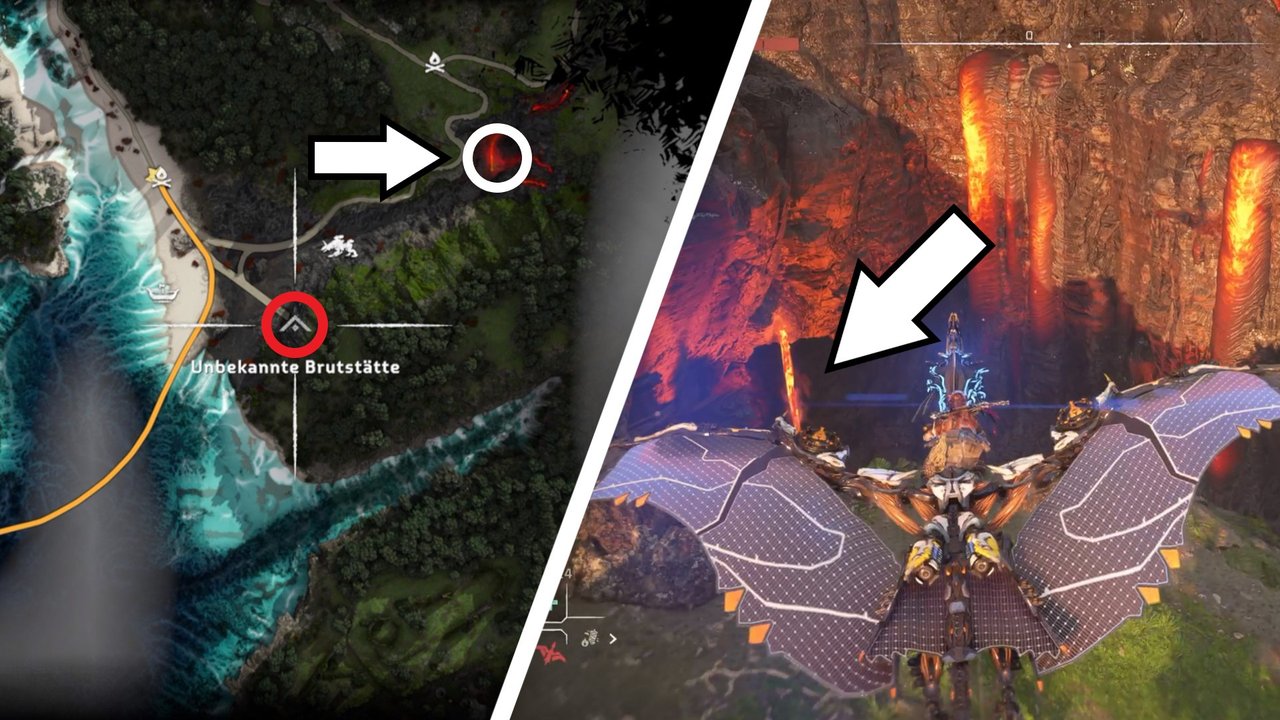
You can find the Hatchery Theta from the Burning Shores DLC by Horizon Forbidden West far east of Los Angeles, near a lava flow. But unlike some other hatcheries from the main game, you cannot enter this through the main entrance, but have to find an alternative entrance.
However, this is not too difficult to identify: Just follow the lava flow east to find a cave at the end. The best thing to do is fly there with a flying machine, drop in front of the cave and then use your glider to penetrate deep into the cave and thus progress a little faster.
Overcome the first gap in the hatchery using steam
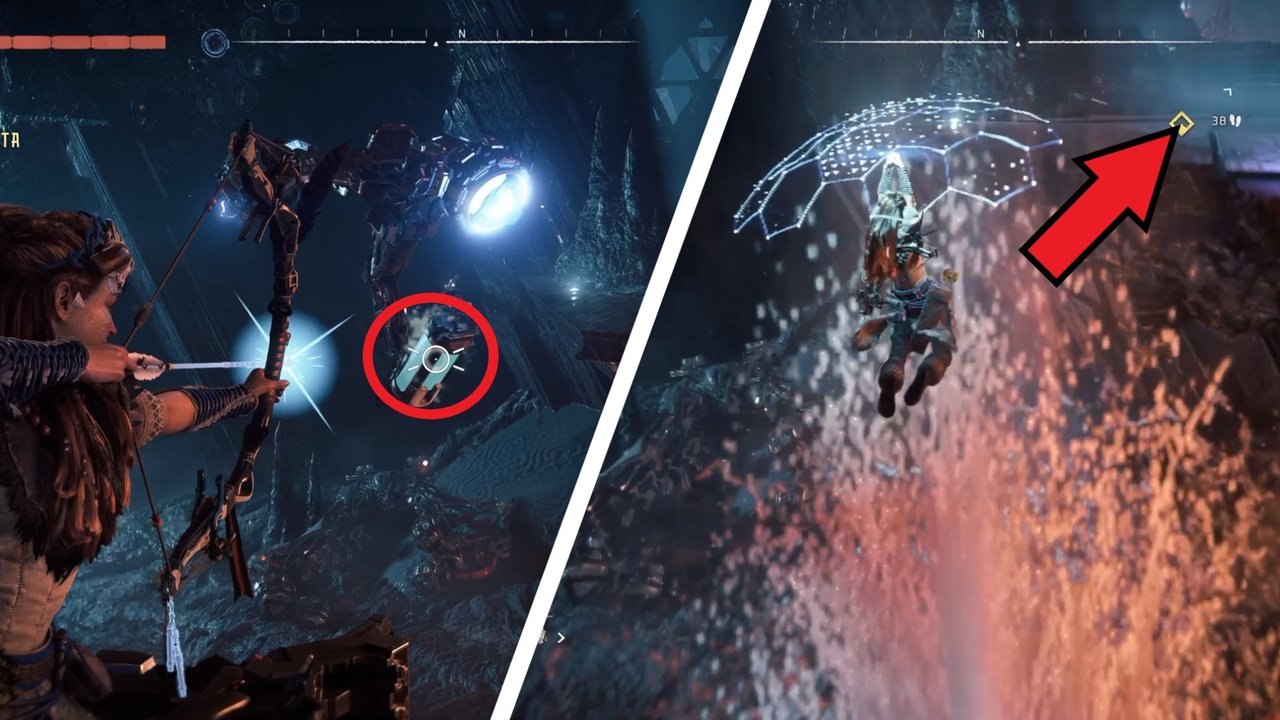
Then flown through the cave with the glider, at the end of it you land on the right platform and bridge the large door further back to go through. Once behind it, you see a gap in front of you that you cannot jump over. From the left, however, working machines come slowly one after the other, the water vessels carry.
Now shoot at one of these water carriers as soon as he is in front of you so that he drops his water vessel. Due to the heat of the ground (you can still safely walk on it here), the water container will explode after a few seconds, causing you use the rising water vapor to lift your glider can to get to the other side.
Draw bridges between the platforms of the Theta Hatchery and move the crate
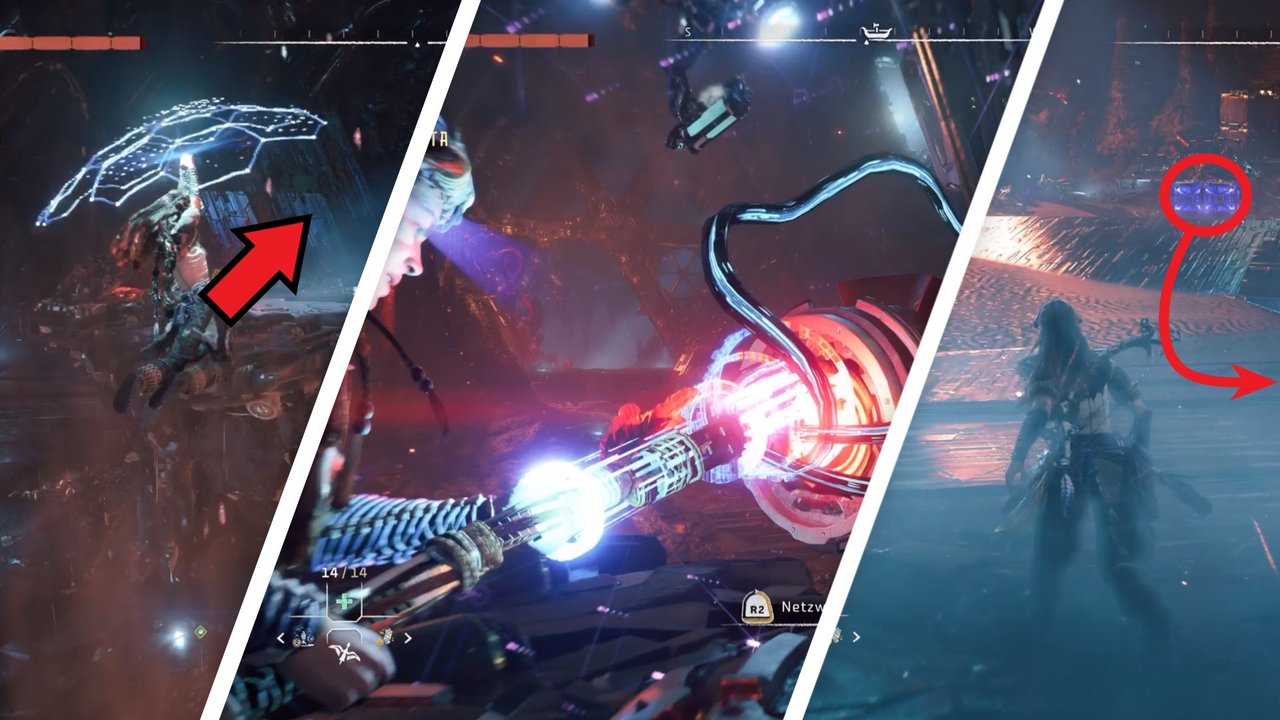
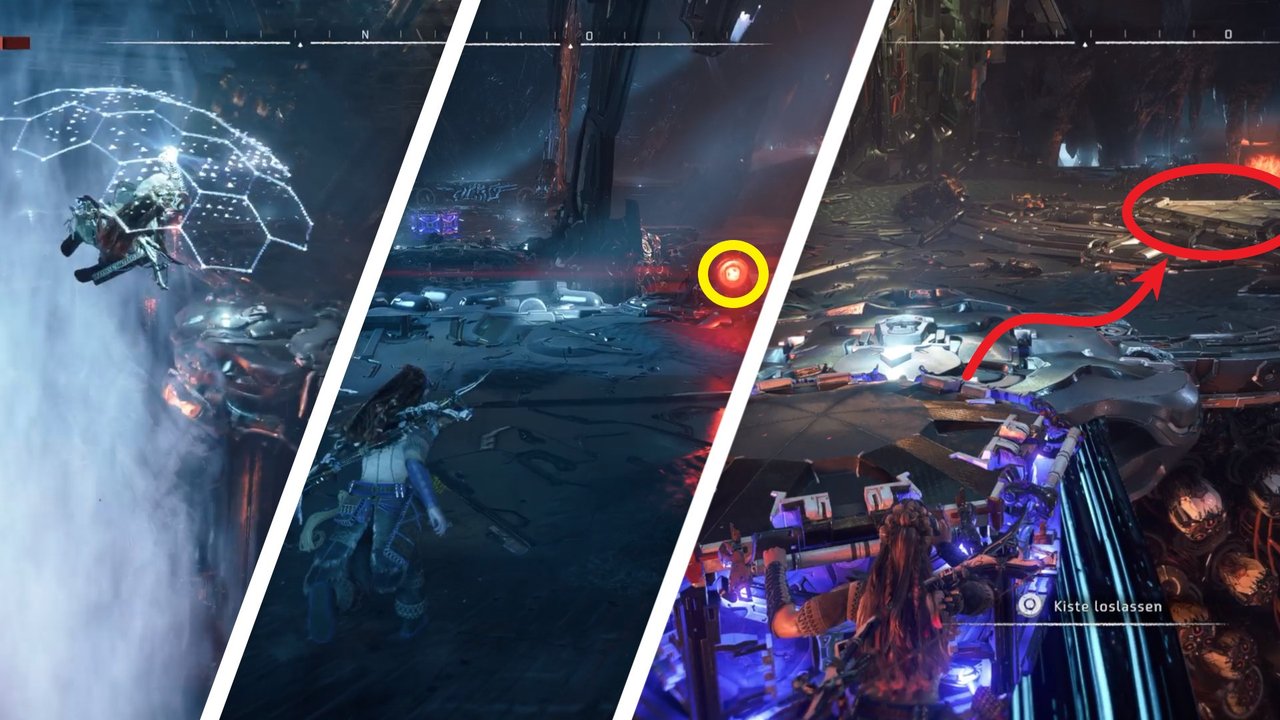
In the next room you will find some machines that you have to defeat first. After that you have to get to the platform at the back right. For this you use the water carrier machines again, which come flying in from the right. Shoot their water containers to make them fall to the ground and create a steam explosion here. Then you jump in the air, activate the glider by holding down the square button, fly up thanks to the water vapor and then land on the rear platform.
Here you first turn left to see a red bridging terminal to find. You bridge this so that a bridge can be extended to the lonely platform in the middle. Now turn left and get the crate you see there. Now push the box across the new bridge to the middle platform. Now some machines appear again that you have to do.
Are the machines defeated, you wait until half right again water carrier machines come flying. Shoot down their water containers again so that they evaporate on the ground and use your glider again to fly with the buoyancy of the water vapor to the platform with the next pass.
However, this passage is still closed and can only be opened by constantly pressing on the floor plate in front of the door. For this you now need the crate that you had pushed to the central platform. So turn to the left bypasses the terminalto create a bridge to the next platform, run across to do the same to the left and connect that platform to the center platform. Now push the crate to the pressure plate in front of the passage and then go through it.
Check hovering platform in Hatchery and disable barrier
Now run through the cave and stay to the right. At the back you come to a place where a amber cable runs down along a machine. Jump on it and slide down. Below you see a floating platform in front of you. Climb up using your pulley and continue straight on the platform.
You control the platform by standing on the edge that you want to go towards. Namely, the platform is driven by pressure on the edge. Your goal here is the spot with the yellow handles in the back left, right next to the big barrier. On these you climb up onto a platform and jump up again to the next yellow handles to climb even further to the top.

When you get to the top, you’ll see another gap that you can’t just jump over. Luckily another floating platform is coming from the left; You jump onto these, run across to the other side as the platform moves, and climb up the yellow markers, where you are back on solid ground.
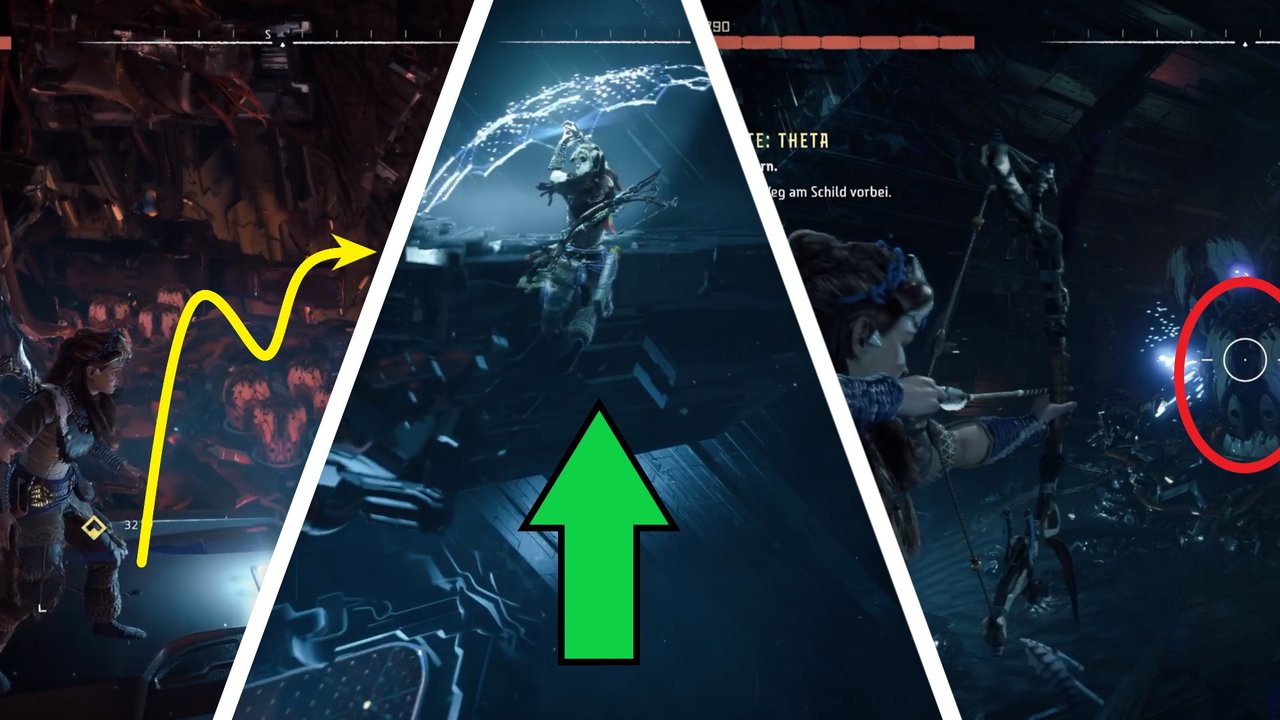
In the next room you wait until water carrier machines fly past you again, shoot at their water containers and then use your glider and the rising steam to land at the top of the level above you. From there you jump over to the other side with the help of your rope, pull yourself up and bridge the large door at the top.
In the room after that you will find a lot of machine eggs before. Run through to the back right until a whole bunch of these eggs “hatch”. Now you have to defeat the many drones before you can continue. Once the fight is won, you do the same as always and bypass the large door to go through.
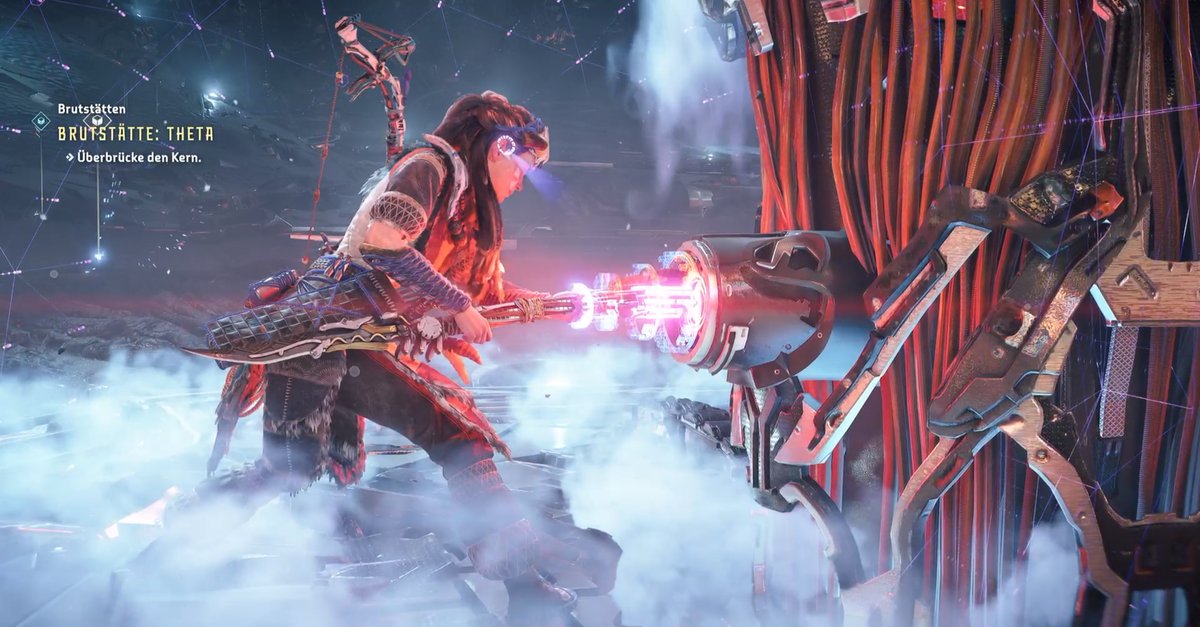
Override Spire Bile Boss Fight and Hatchery Core
Now keep running and rope down at the end of the corridor. Here you turn around until you get to the ledge and jump down. Activate your glider to have a soft landing. Now you bridge the terminal below to disable the barrier behind it. In front of you is the floating platform from before, but the big barrier that blocked your way is gone. Climb onto the floating platform and go all the way to the back.
At the back, continue on foot, head to the chasm, jump down, and activate your glider to slide down through the triangular cave in front of you. Below you can see the core of the hatchery. When you start bridging it, a appears Spicy gall belly that gives you a tough fight. Have you then defeated the big machine frog, you now finally bridge the core and then go upstairs. This concludes the Theta hotbed.