Top iPhone Tip: Tiny Finger Swipes With Mega Effects
Tips for the iPhone are usually practical, but sometimes a bit complicated. Not in this case: Our trick for the photo app is really ingeniously simple and a real time saver. Curious?
Version:14.0
Languages:German
License:full version
Platforms:Mac OS X
You know: A photo is quickly taken with the wrong orientation, if you then look at it in the photo app on the iPhone, the automatic rotation does not provide a remedy – the picture always turns in the end in the way we don’t want it to.
iPhone Tip: Flick orientation lock with that swipe
Previous solution: You switch the Orientation Lock via Control Center a. You just have to remember that you have to deactivate them again afterwards. I mean: Just to quickly fix an image on the display, ultimately closed expensive and therefore annoying. But there is one tip, which probably not everyone knows. I’ll tell you now.

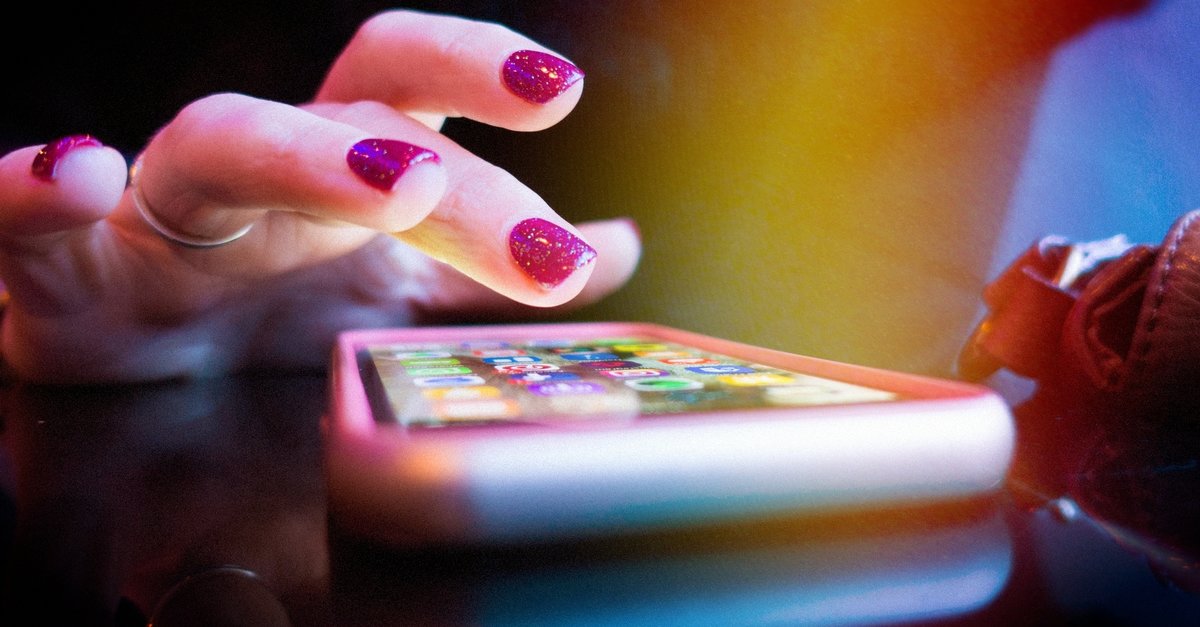
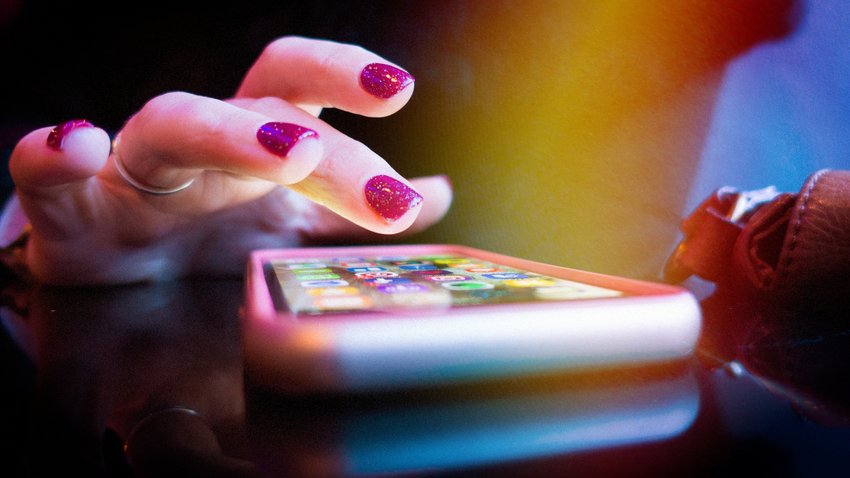
So that Image just does not rotate automatically, we simply place a finger on or near the image on the screen. At the same time, we can now rotate the display freely. The photo remains fixed and no longer aligns itself automatically. Only when we release our finger does the automatic alignment strike again and rotate the image. In short: With the laid finger we get one temporary orientation lock on iPhone. Unfortunately, it is not multifunctional, as far as we know it is alone in Apple’s Photos app available on the iPhone. Unfortunately, other apps, including alternative camera applications, do not support this trick.
We will show you more tips for the camera below Video:
Unfortunately, it doesn’t work on the iPad
Speaking of: the tip unfortunately doesn’t work on the iPad either. Here the automatic rotation always takes place, even if we place a finger on or next to the image. If you want to prevent this, you have to go the familiar way via the orientation lock in the control center.