Make the taskbar transparent – how it works

You can either make the taskbar completely transparent in Windows 11 or apply a transparent window effect. We’ll show you how it’s done here.
Version:beta
Languages:German English French
License:full version
Unfortunately, Windows 11 does not have its own setting to make the taskbar transparent. That’s how it works anyway.
Contents
Windows 11: Make taskbar transparent
If you want to make the taskbar transparent in Windows 11, the best way to do this is with the “TranslucentTB” tool.
- Opens the TranslucentTB website.
- Click on the file belowTranslucentTB-portable-x64.zip‘ to download it.
- Unpacks the ZIP file, for example on the desktop.
- In the unzipped folder, double click on the file “TranslucentTB.exe‘ to install the program. If you get the error message that the file “MSVCP140.dll” and others are missing, install the Microsoft tool “Visual C++ Redistributable for Visual Studio 2015/2017/2019‘ (64-bit version).
- In the “TranslucentTB” installation wizard, click on the “Continue” (Further). After that, Windows will display a message that the program has added a new icon to the bottom right of the taskbar. If you don’t see it, click the arrow icon in the taskbar at the bottom right.
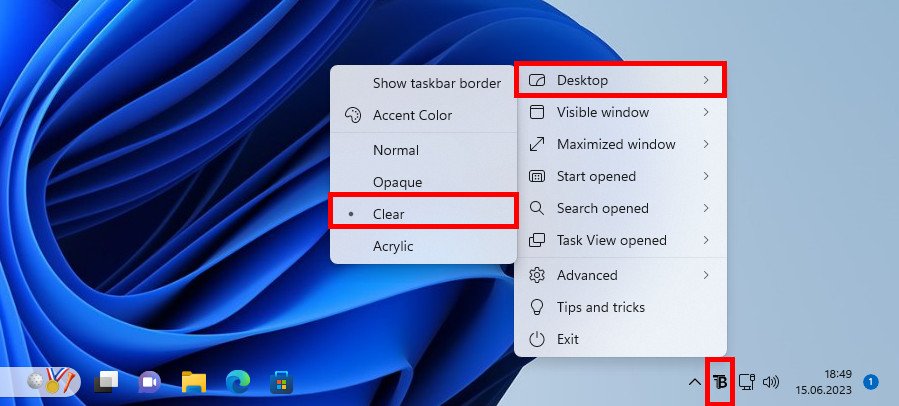
- Click on the new TranslucentTB icon and selectdesktop” > “Clear” out of. An alternative mode is “Acrylic“. The other modes didn’t look good on us.
- If your taskbar isn’t becoming transparent, see our troubleshooting guide below.
You can add the “TranslucentTB” tool to the autostart folder so that it starts automatically every time Windows is started.
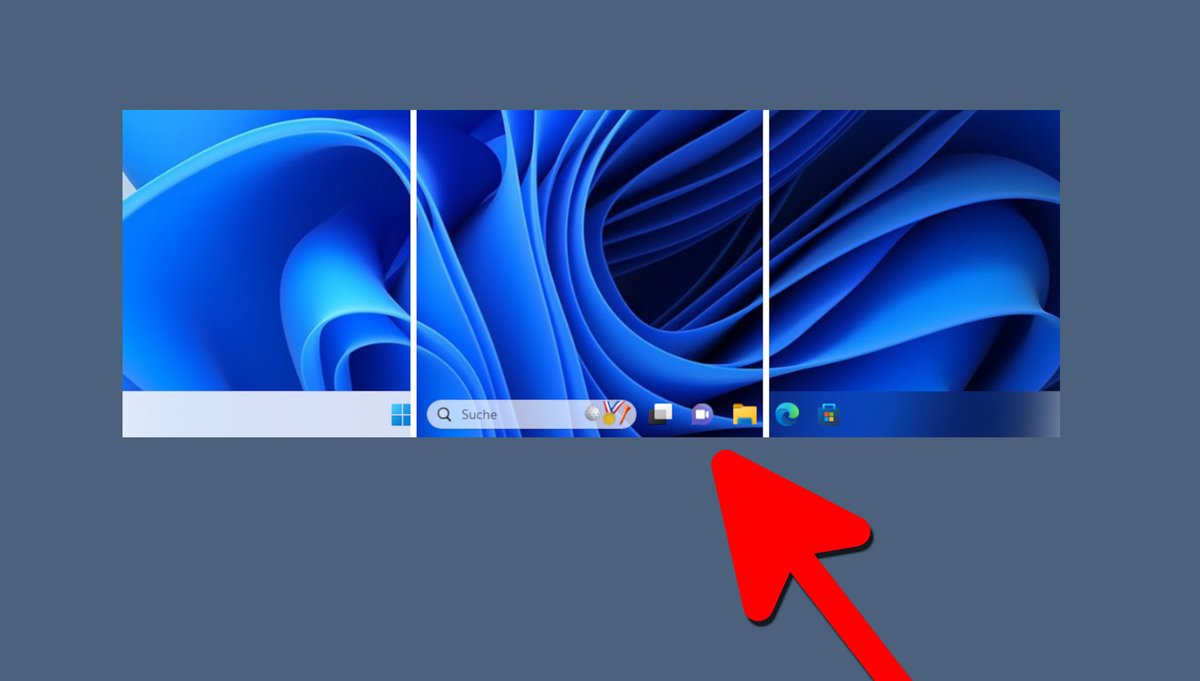
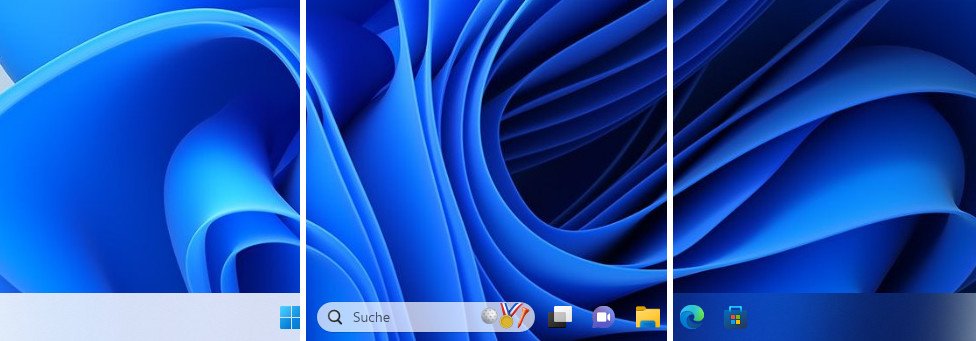
Before and after: All transparency modes at a glance
Here you can see the normal taskbar, the mode “Clear‘ and the mode ‘Acrylic“:
Solution: TranslucentTB does not make the taskbar transparent
The TranslucentTB tool does not work with recent Windows 11 builds. But you can fix it as follows.
Install Vive tool
The ViVe tool enables or disables hidden Windows features. However, it interferes with system files in the process, which can cause problems later. So you take full responsibility for its use!
- Opens the web page of the tool “ViVe Tool“.
- Click on the file “ViVeTool-v0.3.3.zip‘ to download it.
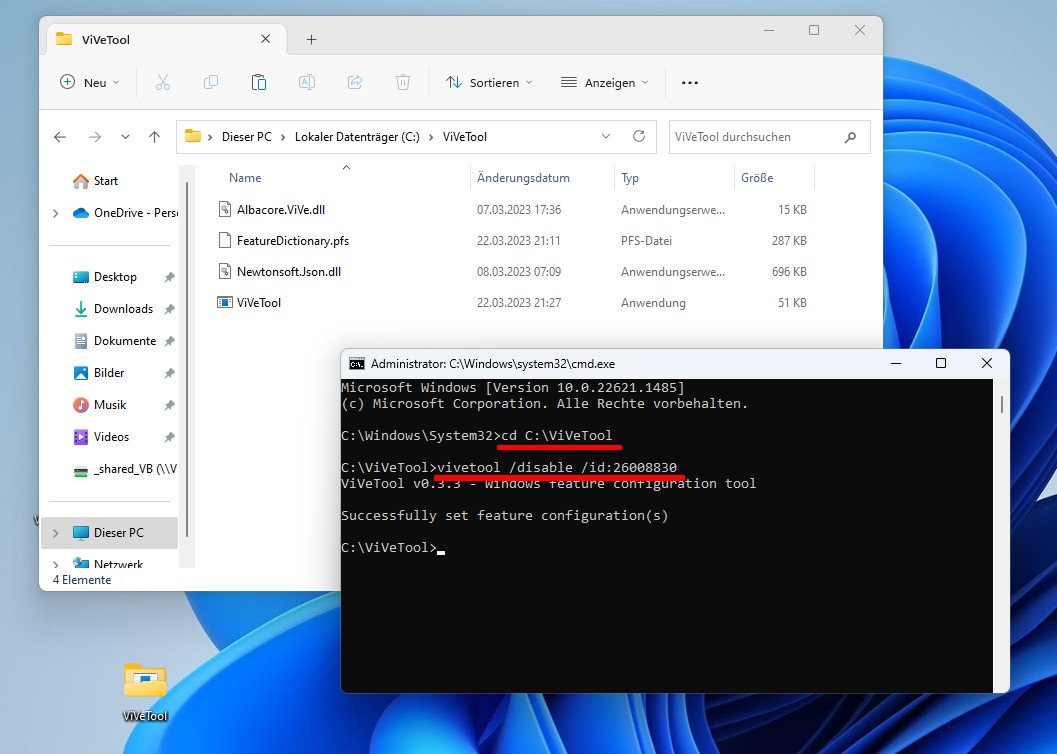
- Unpack the ZIP file and copy the contents of the folder into the folder C:ViVeTool.
Open command prompt with administrator rights
- Press the key combination Windows + Rto open the Run window.
- give cmd one, but not confirmed yet.
- Hold those Keys toggle and ctrl pressed and confirmed at the same time with Enter.
- Confirm the message with “Yes‘ to open the command prompt with administrator privileges.
Enter command
- Give the command in the command prompt
cd c:Vivetoolin and presses Enterto go to the Vive tool directory. - Then give the order
vivetool /disable /id:26008830in and presses Enter. You should get the feedback “Successfully set feature configuration(s)” see. - Restart the computer for the changes to take effect.
- After that, “TranslucentTB” should work. If your taskbar is not yet transparent, start “TranslucentTB” again by double-clicking the file “TranslucentTB.exe“ clicks.
- You can then use the new icon in the taskbar at the bottom right to switch to “Clear‘ Select if you haven’t already done so.
Undo Vive tool changes
- Open Command Prompt with Administrator privileges as shown above.
- Give the order vivetool /enable /id:26008830 in and presses Enter.
Don’t want to miss any more news about technology, games and pop culture? No current tests and guides? Then follow us
Facebook
or Twitter.