7 tips for shooting with your phone in the dark
Photography in difficult lighting conditions is not easy for the small camera sensors in smartphones, but fortunately there are many ways to achieve a better result. We give you seven tips with which you can take better photos in low light.
Contents
1. Pay attention to the hardware
This tip only applies to those who are considering buying a new phone that has a versatile camera. There are two hugely important features that come into play with night photography when you compare multiple phones.
First of all, a sensor with optical image stabilization (OIS) performs significantly better than a device without that function. Due to OIS, the sensor reacts to movements so that you get a blurry image much less quickly. And does it just want you to get blurry images faster when you take photos in low light. That’s because the sensor then takes pictures with a slow shutter speed and the slightest movement can disrupt the image.
A second important aspect is the size of the sensor expressed in inches. The rule is simple: a larger sensor usually captures more light, and more light equals more detail in a photo. So look up the specifications and choose the largest sensor.
2. Night Mode
Night mode is better on some phones than others and it’s good to know how night mode works. Most phones use slow shutter speeds in night mode to give the camera sensor a chance to capture an optimal amount of light. Only, as we said, you run the risk of ruining your photo by movement. Usually you will also see the request in the camera app to keep the phone as stable as possible.
But it is important that not every night mode is equal. Some brands, such as Google’s Pixel phones or Samsung phones, add a lot of extra software optimizations in addition to that slow shutter speed to achieve a good result. But at Androidworld, we’ve just as well seen phones that take better photos without the night mode. Test the function first.

On the left a night photo taken with the Google Pixel 6 Pro (899 euros) and on the right a photo taken with the Sony Xperia Pro-I (1,799 euros)
3. Manual mode
In case of a disappointing night mode, the manual mode can offer a way out, often also called the ‘Pro function’. This puts you in control of things like exposure, shutter speed and ISO values. That is a lot of terms in one sentence and therefore a word of explanation:
- Exposure or aperture: These designations are sometimes mixed up by smartphone brands. Most smartphone cameras have only one aperture or lens opening, expressed in f-numbers. A lower f-value stands for a larger lens opening and therefore more light that falls on the sensor, which you naturally want for night photography. Very often you will also find an ‘exposure’ or ‘exposure’ slider in Pro mode, precisely because smartphone cameras actually only have one aperture value.
- Shutter speed: The time the shutter of the camera lens takes to take a photo. A slower shutter speed will give you better exposed images, but run the risk of blurry photos if you shake your hand.
- ISO values: The light sensitivity of the camera sensor. You only increase the ISO values when you have pushed the exposure and shutter speed to the maximum given the shooting conditions. This is because with higher ISO values, noise can be seen in your photos, but for night photography there is really no other option than to increase the ISO values.
4. Use a tripod
In this article you could already clearly understand that in night photography a slow shutter speed helps to take better exposed photos, only vibrations of your hand can sometimes cause images to be blurry. A tripod or tripod solves that problem, because you can then keep your phone stable while shooting. You also have very mobile ones, both with tripods and tripods.
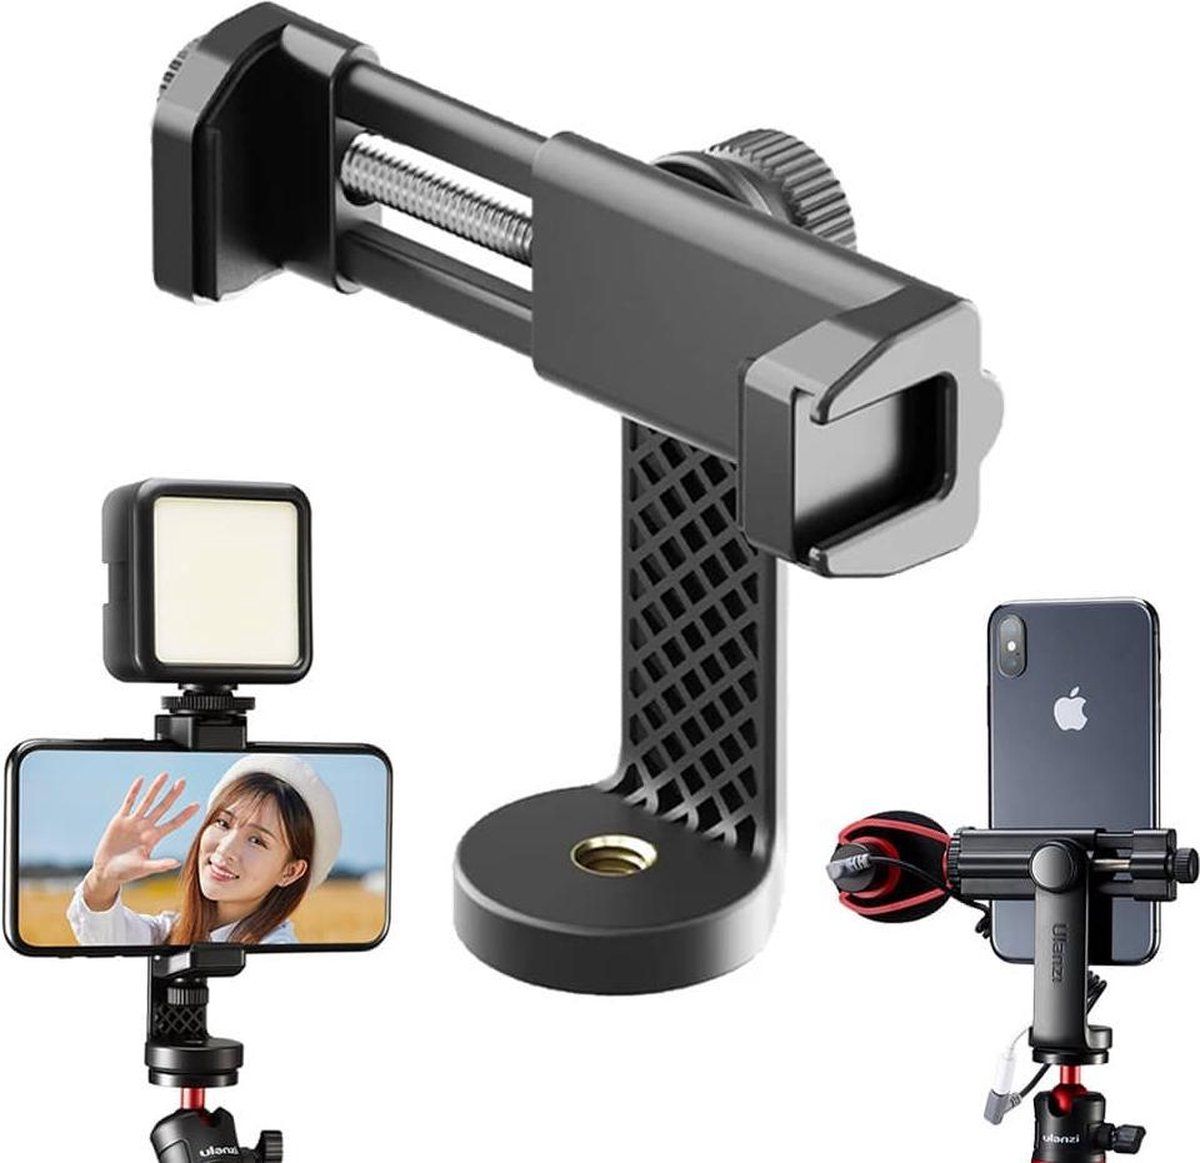
Make sure that you take one with an attachment that you can clamp a phone with and ideally you want an attachment that allows you to fix your phone both horizontally and vertically. If you already have a tripod or tripod, for example for your camera, then it is sufficient to only purchase a smartphone holder with screw. Below you will find an example of a telephone holder that we also use in the editorial office.
5. Illuminate the environment yourself
Every phone comes with a flash on the back, but such a built-in flash is rarely enough. Subjects you photograph are often totally overexposed up close or underexposed far away. There’s nothing to stop you from using other sources of light to better illuminate a subject. Sometimes a flashlight or a combination of several smartphone flashes can be an enormous added value. You can also test with the distance from the light source to the subject and the direction in which the light shines. If you notice that an image is clearly overexposed, keep the light a little further away.
6. Use a reflective screen
Both day and night photography is primarily a matter of playing with light. A reflective screen can help you to deal with light in a smart way. For example, when you take pictures in the city, you can position a reflection screen in such a way that streetlights or other light sources are aimed at the subject. It is an alternative way to illuminate a subject in a way that makes it fit better into its environment. As with tripods and tripods, many reflective screens are foldable.

7. RAW Photography
Even if you follow all the above advice, only part of the work will be done after taking the photos. With post-processing, you can fine-tune the colors and exposure of your images. And editing images always produces a better result when you shoot in RAW.
RAW is a file type where your smartphone camera stores the raw sensor data of a photo. When you take photos in the JPEG format, compression takes place automatically and your phone already makes some of the choices when processing your photos. If you edit and save a JPEG photo afterwards, there will be a loss of quality because the photo file is reduced a second time. You can also choose between far fewer color tones and editing options compared to RAW. You can edit a RAW photo as often as you want: the quality is preserved.
So look in the settings of the camera app for the option to shoot in RAW and turn on the option if you want to take good photos. If a photo is only intended to be quickly shared with a friend via a messaging app, JPEG will of course suffice.
Do you have any more tips for those who want to venture into night photos? Perhaps you are a professional or amateur photographer yourself? Let us know all your tips in the comments.