11 tips for novice users
Now that a large part of the world is (again) at home, many companies and schools are switching to Microsoft Teams. In this article, we’ll give everyone who is using the app for the first time some practical beginner tips.
Read on after the ad.
Contents
- 1 How Microsoft Teams works A guide for beginners
- 2 Microsoft Teams FAQ: the most frequently asked questions
- 2.1 1. This is how Microsoft Teams is built
- 2.2 2. This is how you adjust your profile and the app
- 2.3 3. Connect a microphone or webcam to the app
- 2.4 4. Mute your video and microphone
- 2.5 5. Customize notifications in Microsoft Teams
- 2.6 6. This is how you share and save files
- 2.7 7. Use channels to keep things organized
- 2.8 8. Blur or change your background during video calling
- 2.9 9. Make your messages stand out in chat
- 2.10 10. Switch between different Teams
- 2.11 11. Remove Microsoft Teams
- 2.12 Microsoft Teams
How Microsoft Teams works A guide for beginners
Like Word, Powerpoint and Excel, Microsoft Teams is an enormously extensive program. You can program bots that perform tasks automatically and link numerous services to the app. In Teams you can meet with up to 300 people, making it a suitable app for most companies and schools.
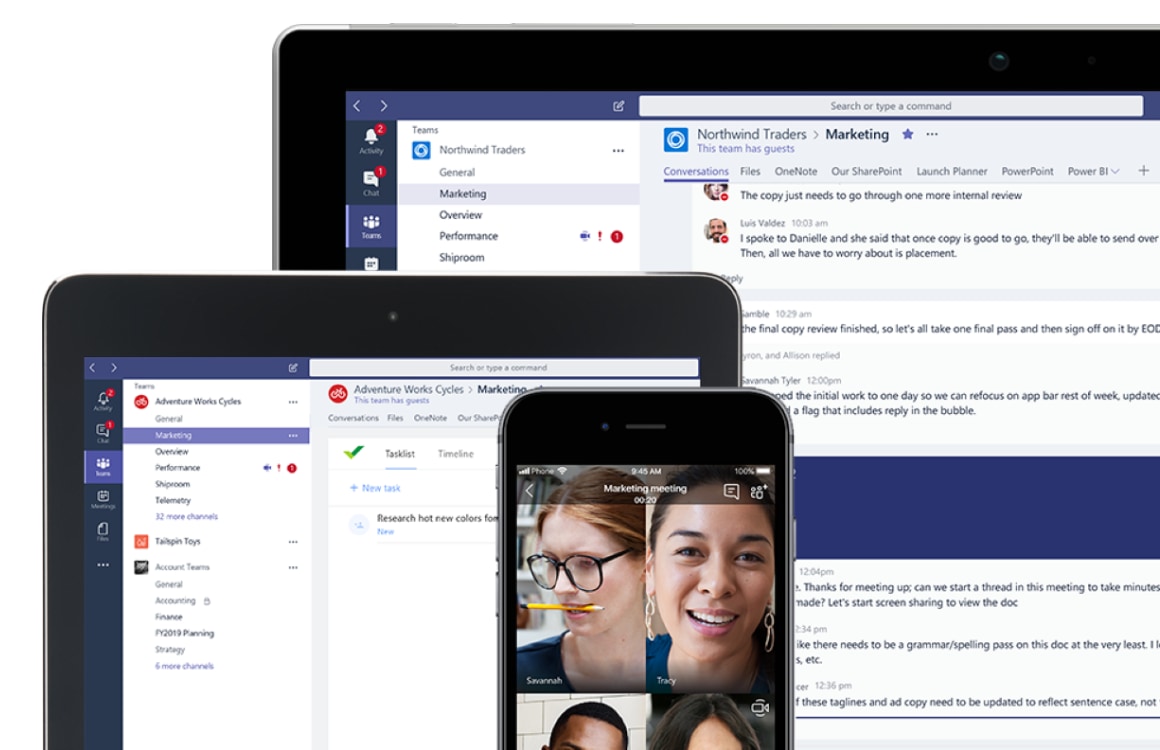
However, in this beginner’s guide, we’ll focus on the basics. This makes it easy for people who are not used to working with such online tools to attend a digital meeting. The app is available on iOS and macOS, in addition to Windows and Android. As long as you log in with the same account, you can access the team on all your devices.
Microsoft Teams FAQ: the most frequently asked questions
When you first get started with Microsoft Teams, a lot of information comes to you. Below we answer the most frequently asked questions.
Microsoft Teams is an online meeting program from Microsoft. With this software you can communicate online with small and large groups. You can make video calls, send text messages, share files and share a calendar together.
Microsoft Teams is free to download and use. This gives you access to the most important basic functions, which will be more than enough for most people. Do you want more options to do more with security and management, for example? Then you can take out a Microsoft 365 subscription. The costs of this are different. Check out Microsoft’s website (link) for more information.
Microsoft Teams can be downloaded for free from Apple’s App Store. The app can be installed on both your iPhone and iPad. You can download and install the apps via this link. You need iOS 12 or later.
There is also a special app for Microsoft Teams for the MacBook, iMac, Mac mini and Mac Pro. This can be downloaded for free from the Microsoft website (link).
1. This is how Microsoft Teams is built
When you start Microsoft Teams, you will see that the app has a special layout. The bar on the left is the most important. This makes it easy to quickly jump from one part of the app to another. Below we briefly explain what you can do with it per part.
- Activity: Here you will find an overview of adjustments that have been made and anything you may have missed.
- Chat: Here you can have individual and group conversations. This is possible with text messages as well as audio and video calling.
- Teams: This contains all the teams you are part of, with all the channels you are in below.
- Exercises: Teachers can add assignments to this overview, so that it is clear what is expected of you.
- Agenda: As the name implies, this is the place where you can make appointments, schedule meetings and see where other people have scheduled meetings.
- Calls: An overview of your calls, including an address book, history and voicemail function.
- Files: Here you can access all your files shared via OneDrive or Microsoft Teams.
2. This is how you adjust your profile and the app
As soon as you are added to a Microsoft Team and log in, your account will be completely empty. Prevent your entire company or class from consisting of avatars with two letters and adjust your profile using the steps below.
- Open Microsoft Teams and click on the circle in the top right corner of the window;
- Tap on ‘Change image’ and upload a photo of yourself;
- Optionally set a status message;
- Tap the gear to open the settings;
- Here you can adjust a theme, layout and other preferences.
In these settings you can also adjust your status so that people know if you are not available or have a break. This prevents misunderstandings.
3. Connect a microphone or webcam to the app
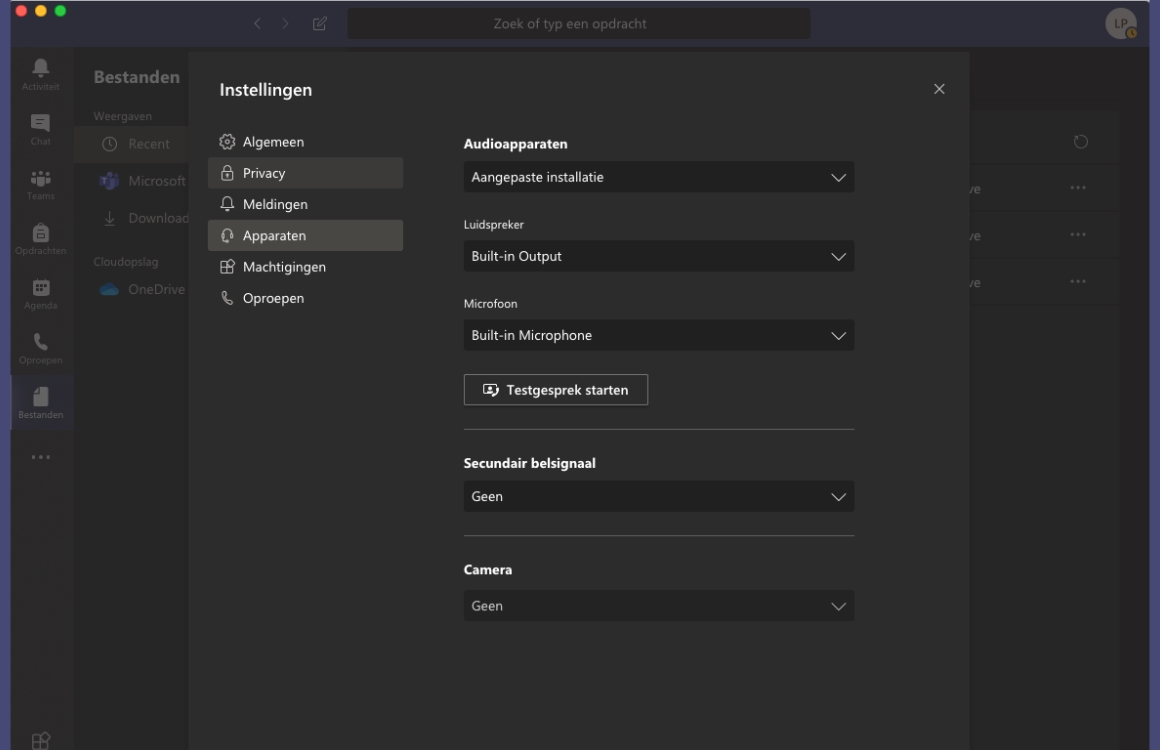
Microsoft Teams will ask for permission to use your laptop’s built-in webcam and microphone when you launch the app. Do you have a desktop computer or a headset or separate webcam that you prefer to use? Then you can manually select it in the settings. You do that as follows.
- Open Microsoft Teams and click on the icon in the top right corner;
- Click on Settings;
- Click on Devices;
- In this window you can manually select a microphone, camera, speaker and other audio devices.
If you have completed the above steps, we recommend that you click on ‘Start test call’ in the same window. This will start a conversation with yourself that the app can use to check if everything is working properly. This way you can be sure that everything will work.
4. Mute your video and microphone
During a meeting or lecture it is of course useful that others can see and hear you, but that does not always have to be the case. If you are in a room with roommates or family members, it is useful to switch off your microphone or video camera. You can still see or hear others.
You do this by clicking on the microphone and camera icon during the call. As soon as the icon shows a line, the video or microphone is muted. Click it again to unmute.
5. Customize notifications in Microsoft Teams
Microsoft Teams automatically turns on all notifications, which can certainly cause an abundance of notifications in busy teams. Outsmart all those distractions by taking a critical look at these settings.
- Open Microsoft Teams and click the button in the top right corner;
- Click on Notifications;
- You indicate what you want to receive behind each notification.
Depending on the type of notification, various options are possible. This way you can completely disable certain entries, but this is not possible everywhere. If you want less distraction and no flooding mailbox, we recommend that you disable e-mails for almost all notifications. You can also choose to display a notification only in the feed. You will not get a pop-up.
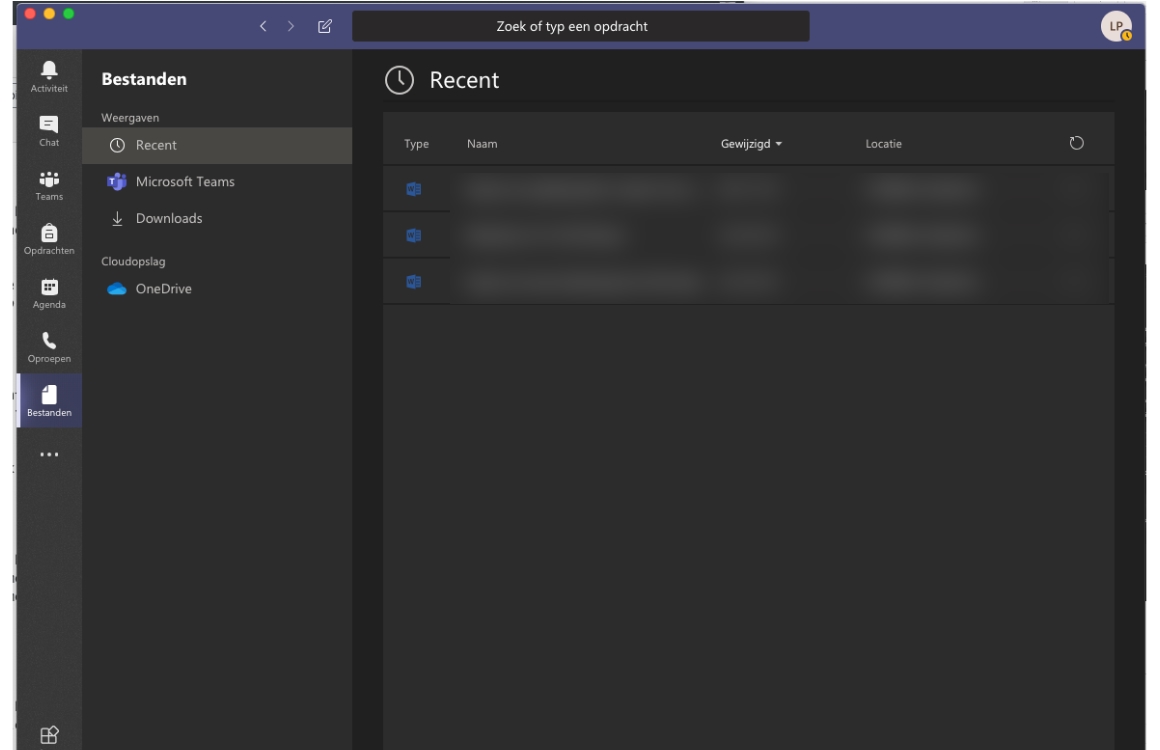
Microsoft Teams has a handy built-in file component. Here you can upload documents for other team members to see and where you can collaborate on the same document. To do this, click on ‘Files’ in the left bar of the app.
In this window you can see recent files, view active files that team members are working on in the ‘Microsoft Teams’ tab and manage your downloads. Do you also have a OneDrive account? Then you also have access to all files that you have stored there.
7. Use channels to keep things organized
Whether you are with many or few people in your team: it is always useful to work with multiple channels. Every team starts with a ‘general’ channel, which, as the name suggests, is mainly intended for announcements that concern all team members.
For all other conversations it is much easier to create separate channels. You can then manually invite people to this, so that only the people receive the messages that are relevant. For example, create a channel for your project group or team in the company. You do need rights to create channels.

8. Blur or change your background during video calling
This function only works for scheduled calls, but can be useful for making a cluttered living room or other people unrecognizable.
- Participate in a conversation;
- Three icons appear at the bottom of the screen with three buttons behind them. Turn on the second (middle) button;
- Now add yourself to the conversation, your background has been blurred.
If you still want to make visible what is going on behind you during the conversation, you can do this by clicking on the three dots at the bottom of the screen. There you can find the same button to switch the blur on and off. In this overview you can select other images in addition to blurring backgrounds. This turns a living room into a tropical beach or a hip apartment.
9. Make your messages stand out in chat
Microsoft has added a number of useful extras to make messages stand out. These are all located under the text box where you put your message. Press the three dots to view them all and access more extensive options.
Here you can, for example, put a message in several channels at the same time and set who can reply to it. Again press the three dots in the bar above the text box to mark a message as important. As a result, everyone on your team knows you have something to say that they really should have read. Although this button will of course lose its power if it is used too often.

10. Switch between different Teams
If you work and follow a study, or if you have several employers with their own Teams, you will have to switch regularly. Unfortunately, no smart function has been devised for this yet, so you will have to do it manually. In that case there is nothing else to do than the following:
- Click on your avatar in the top right corner of the screen;
- Click on unsubscribe;
- Log in with your other account.
If you want to go back to your original account, you go through the above steps again. Let’s hope Microsoft adds the option to switch between accounts faster in the future.
11. Remove Microsoft Teams
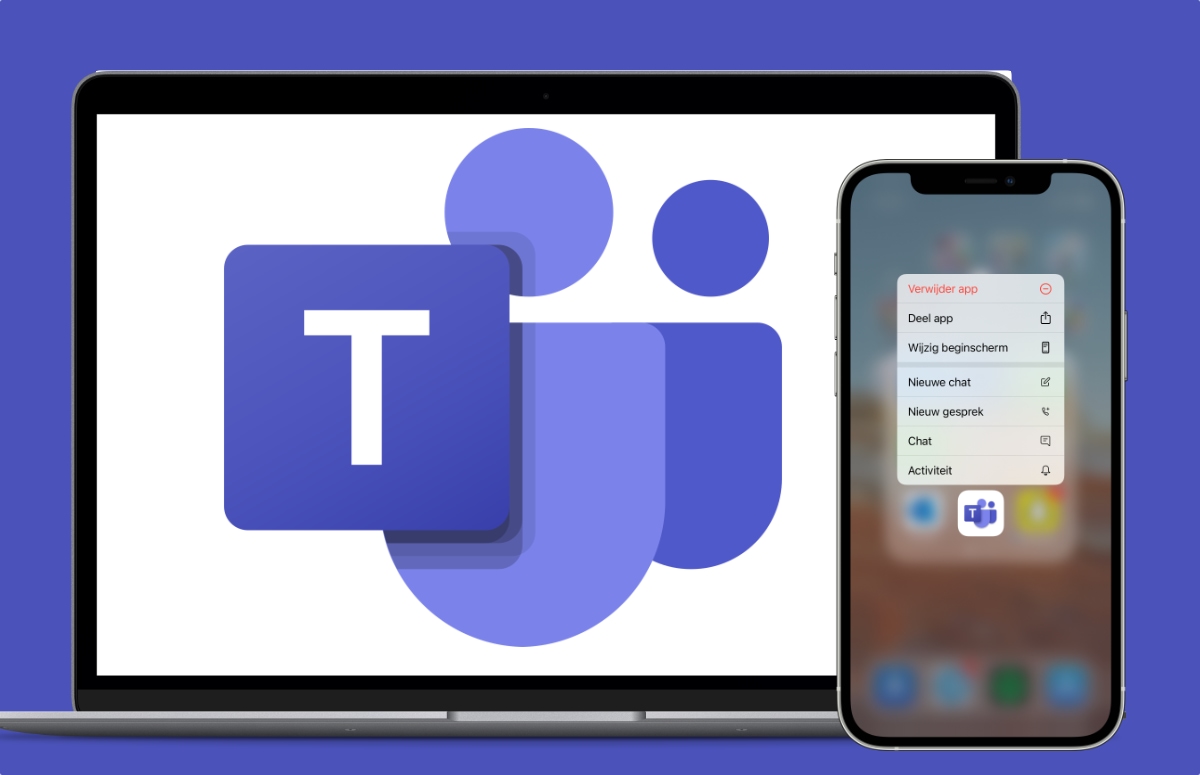
Have you finished your studies, is your company switching to another video service or do you have another reason? Then you can easily remove Microsoft Teams from your devices. On your iPhone and iPad, it’s just a matter of long-pressing the app icon until a small cross appears in the top right corner.
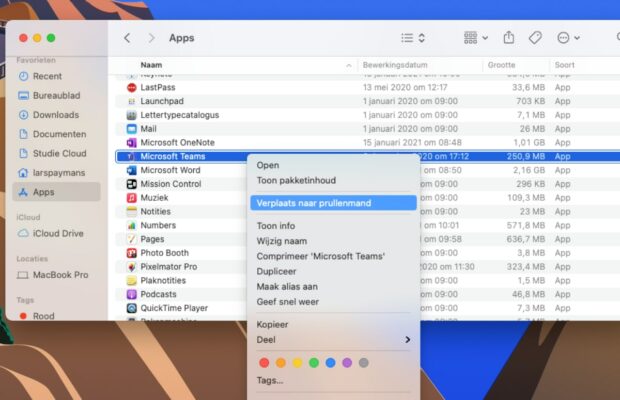
How to remove Microsoft Teams on your Mac:
- Close Microsoft Teams completely. You do this by going to Microsoft Teams in the Dock and pressing your right mouse button. Choose ‘Stop’ to close the app;
- Now click on ‘Finder’ in the Dock of your Mac;
- Click ‘Apps’ in the left column of the Finder window and find Microsoft Teams;
- Click with your right mouse button on Microsoft Teams in this list and choose ‘Move to trash’.
How to remove Microsoft Teams on Windows:
- Close Microsoft Teams completely;
- Click on the Windows Start button (with the Windows logo), go to Settings and choose ‘Apps’;
- Search under the heading ‘Apps and components’ for Microsoft Teams’;
- Select the app and click on ‘Remove’;
- Confirm your choice to delete Microsoft Teams and follow the steps on the screen.
Do you have other questions about Microsoft Teams or is something unclear? Let us know in a comment below this article and we will supplement the guide with new information where necessary.


Microsoft Teams
Microsoft Corporation