What is it & what are the options?
A CMOS reset can be helpful if the computer twitches after new settings in the BIOS/UEFI or an unsuccessful attempt at overclocking, if it simply no longer wants to start up or displays an error when starting. You can find out here how to use the CMOS to reset the settings stored in the SRAM.
Contents
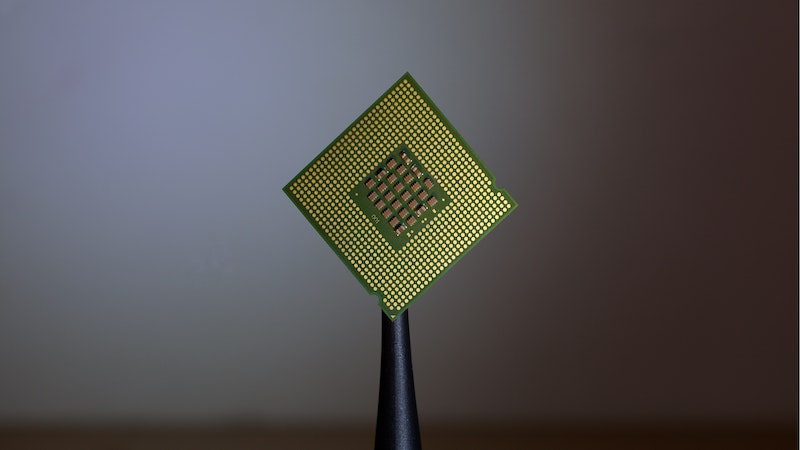
What is the CMOS?
The CMOS (Complementary Metal-Oxide Semiconductor) is a battery-buffered memory component (SRAM). A button cell battery is usually used to ensure that the memory chip retains the BIOS/UEFI settings even when the computer or laptop is not connected to the power supply.
What problems can a CMOS reset help with?
The CMOS reset restores the BIOS/UEFI settings to the factory defaults. This can help with the following problems, among others:
How to do CMOS reset?
Depending on whether you can easily access the mainboard and the CMOS battery or the clear CMOS button of your computer or laptop (using the service flap) or whether you don’t have this option, there are different approaches.
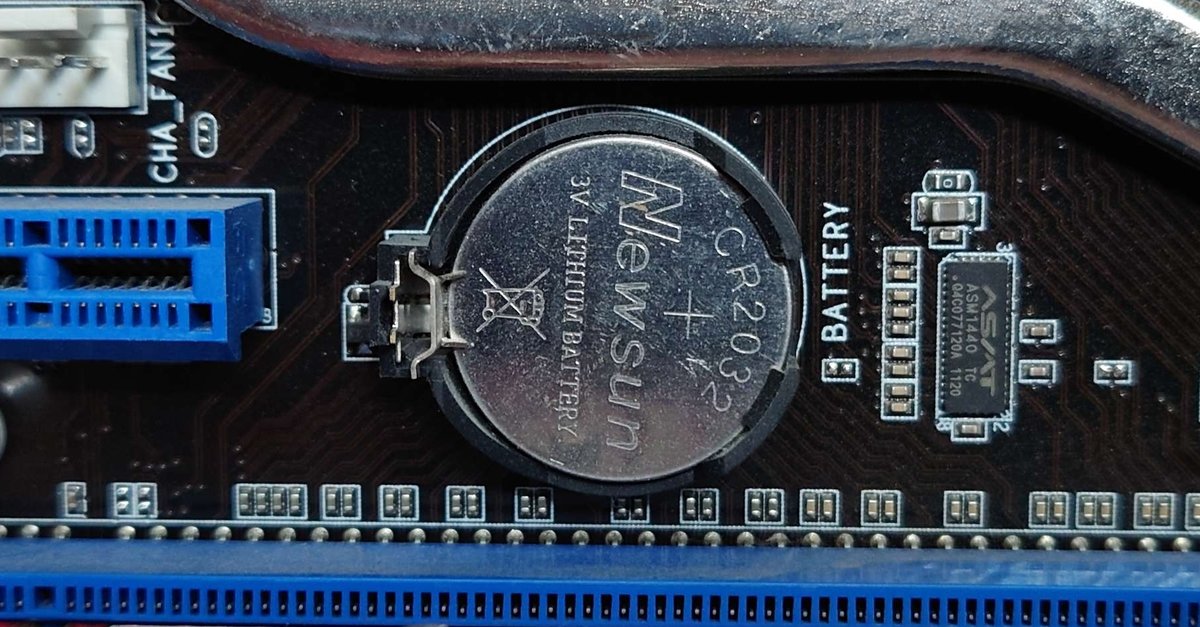
Remove CMOS battery
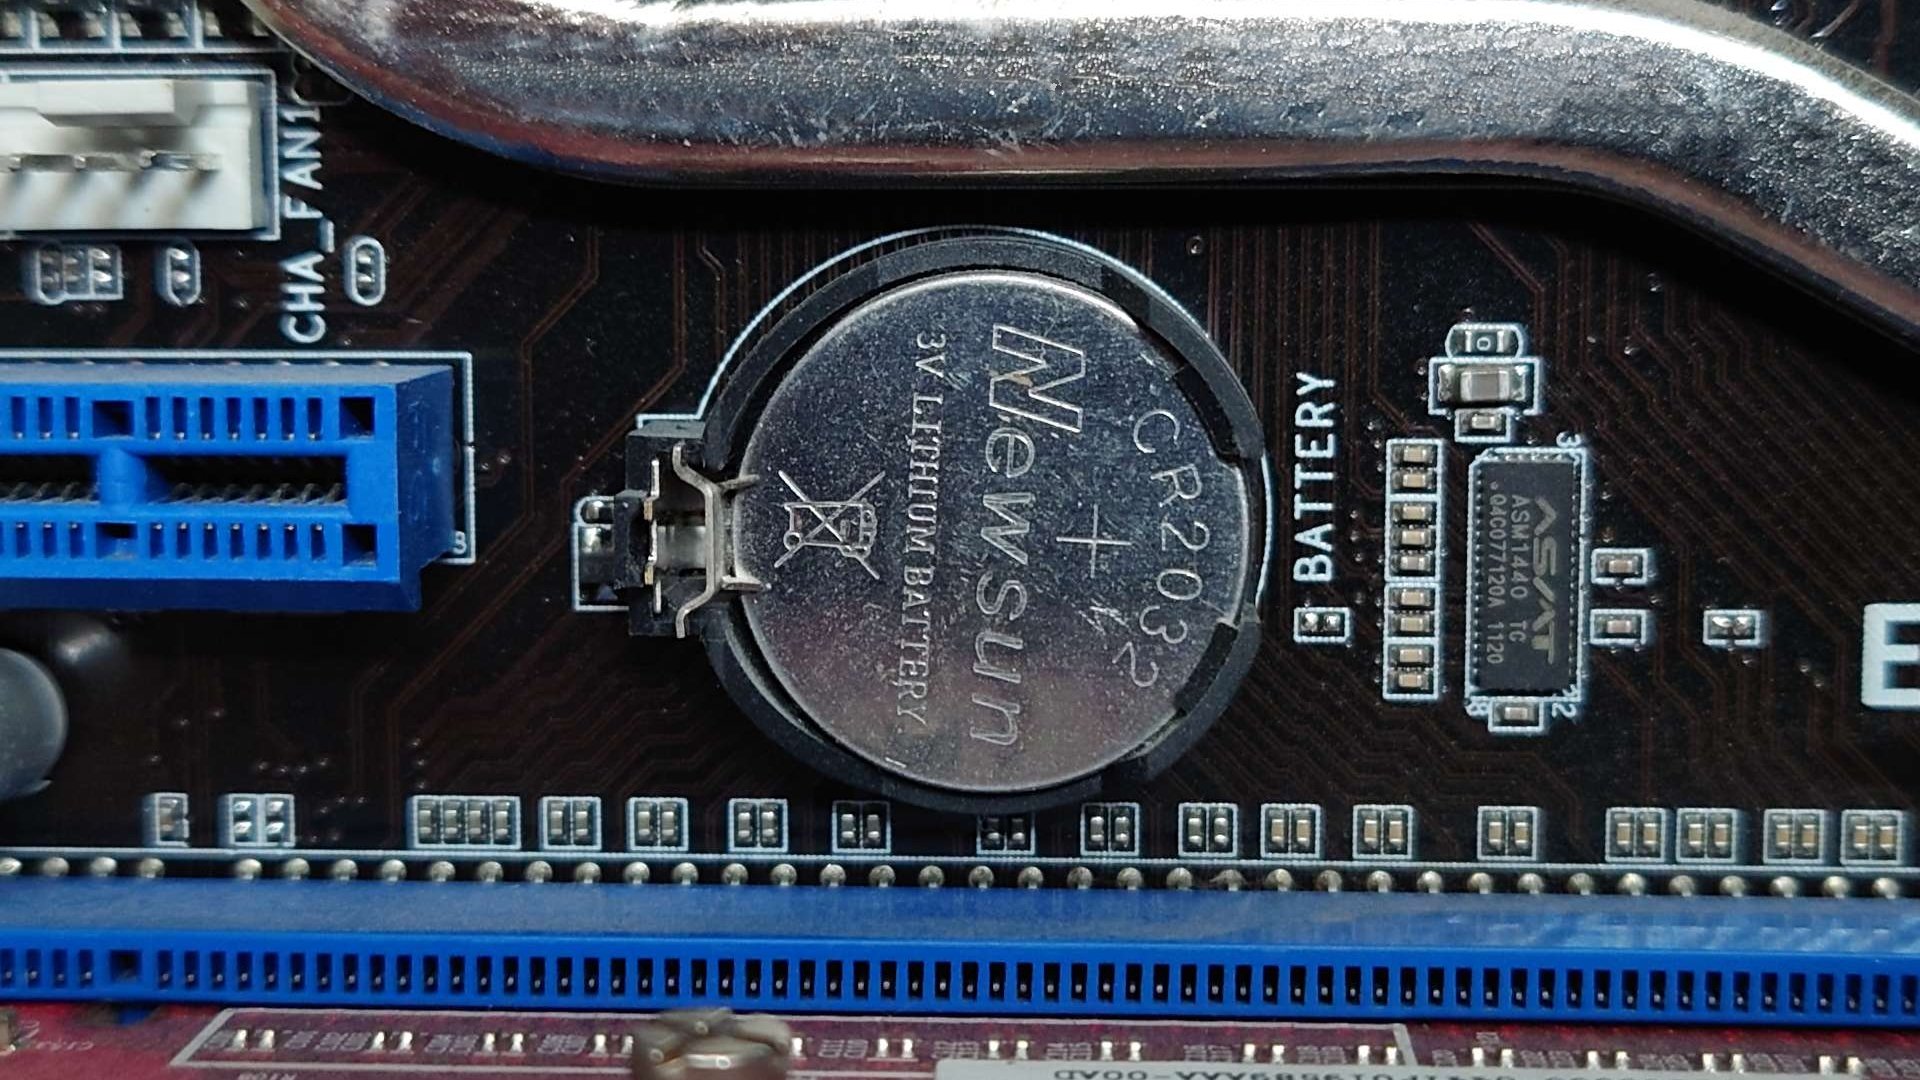
The easiest way is usually to remove the button cell battery from the motherboard. In the case of CMOS error messages or if you notice that the time settings on your PC are no longer correct, it makes sense to insert a new battery straight away. To do this, proceed as follows:
- Shut down the computer and disconnects it from the mains or remove the battery (if possible).
- Screw the side panel or the service flap open and put them aside.
- Look for the button cell battery on the motherboard.
Usually the round silver battery is mounted in a black battery holder. In rare cases, it is also plugged into a cable with a 2-pin connector and isolated. - Push against the holding lock the battery or carefully remove the connector.
- When the battery is removed waits 5 minutesbefore you insert a (new) battery again.
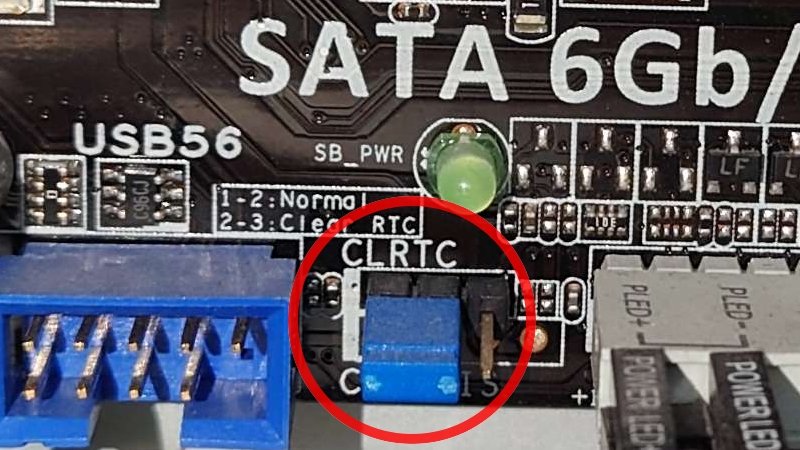
Many mainboards also have a reset switch – either in the form of a small button or 3 pins, where you have to switch a jumper to the middle and free pin for a short time.
If you have the instructions for your motherboard, you can look here for the search terms “Clear CMOS”, “CLRCMOS”, “CLRTC”, “JBAT1” or something similar. The button should also be labeled like this or something similar on the mainboard itself. In this case, proceed as follows to reset the CMOS:
- Shut down the computer and disconnects it from the mains or remove the battery (if possible).
- Screw the side panel or the service flap open and put them aside.
- Search for that Clear CMOS button or jumper on the motherboard.
- buttons: Press and hold the button for 5 seconds.
- pins: Sets a jumper in the Clear CMOS position for 10 seconds, then removes it.
Settings in the BIOS/UEFI
If the battery is not dead and needs to be replaced, you can achieve the same effect by resetting the BIOS/UEFI to factory settings via its interface.
Since each manufacturer has its own menu structure here, you should proceed as follows to find out how to load the factory settings:
- First open the settings of your BIOS/UEFI.
- Usually the Manufacturer and also the type designation of your mainboard is displayed.
- So if you don’t find the function “factory reset” or similar, you can now search for the instructions for your motherboard and look here.
Don’t want to miss any more news about technology, games and pop culture? No current tests and guides? Then follow us
Facebook
or Twitter.