Replacing an Apple Pencil tip in 4 steps: that’s how you do it
You don’t have to sharpen the tip of the Apple Pencil like a regular pencil. You do have to replace it now and then. How and when you do this? You can read that in this article.
Read on after the ad.
Replace the Apple Pencil tip in 4 steps
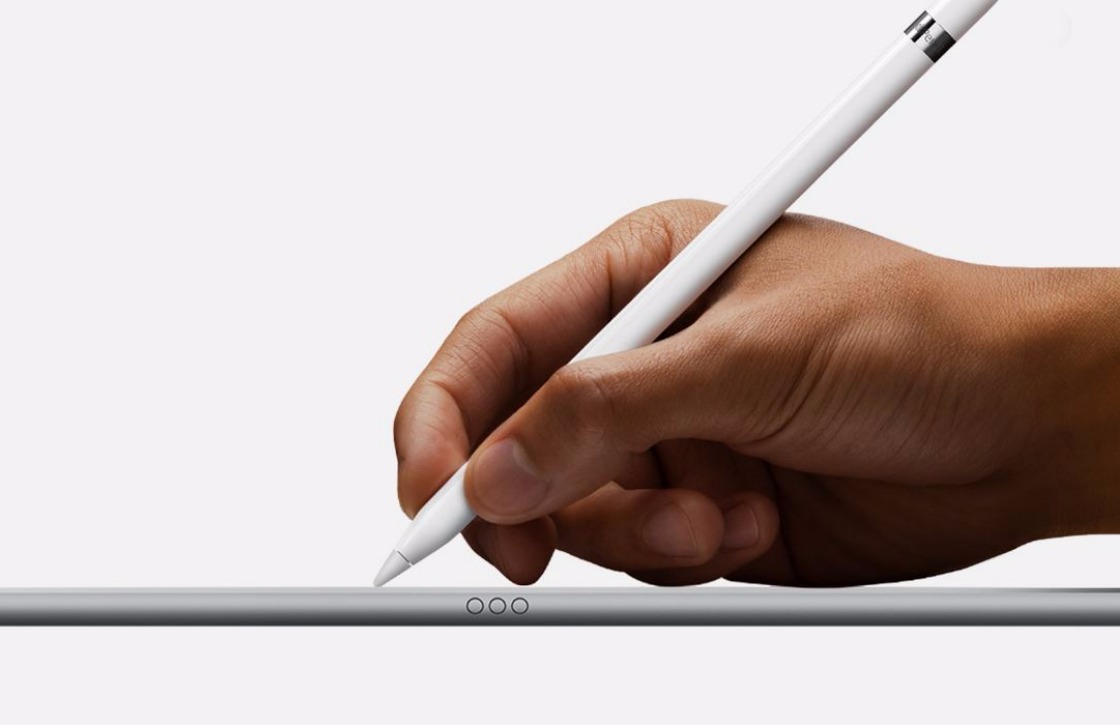
The tip of the Apple Pencil is made of sturdy, but bendable plastic. Depending on how often you use the stylus and how hard you press the screen of your iPad, it will need to be replaced after some time. You can do this yourself and it is very easy. The method below works for both the original Apple Pencil and the Apple Pencil 2.
- Get a new Apple Pencil tip;
At Apple itself you pay 25 euros for 4 pieces, but they are cheaper at other web shops.
- Grab your Apple Pencil and screw off the current tip against turn the clock;
- Turn your new point on your Pencil clockwise along to turn;
Make sure the tip is on properly, but don’t turn too far. Then you damage the screw thread.
- Test if the new tip is working properly by doing some drawing on your iPad.
When do you replace the Apple Pencil tip?
As mentioned, the tip is made of hard, but flexible plastic. When you use it often, the top becomes less and less smooth and slightly wider. As a result, your iPad registers less accurately which movements you try to make, which is difficult when making drawings and illustrations.
When the tip feels very rough, a bit like sandpaper, it needs to be replaced. Even when you clearly feel a slit in the middle, it is time for a new point. No matter how rough the surface feels, the Apple Pencil tip will never scratch your iPad. You replace it mainly because a new point works better.