How to fix slow charging and battery draining issue on Nexus 7
If your Nexus 7 is charging slowly, or if you are having battery drain issues then this is the article for you that will focus on how to fix Nexus 7 slow charging issue.
Read First – Android Battery Discharged
The Nexus 7 is equipped with a 3,950 mAh battery that lasts up to nine hours with active use. Nevertheless, improper use can lead to problems with slow charging processes and quickly discharging batteries.
One of the most common causes of the slow charging issue on the Nexus 7 is the Kitkat 4.4.2 update which is draining the battery. In this article, the solutions provided to fix battery drain and slow charging with the Nexus 7 are also used to fix issues like lagging, slow responses, and app crashing.
How to fix slow charging and low battery issues on the Nexus 7
Method 1: wipe cache partition
There is one term that you need to be familiar with, cache partition, before you start troubleshooting.
Cache Partition Wipe – This is where the most frequently needed and temporary system data is stored. By storing cache data, you can access applications and programs faster and more efficiently. But storing too many caches can be very ineffective, especially if you haven’t cleaned up your cache partition since purchasing your phone. Things can get cluttered and out of date, so deleting them regularly can keep your Nexus 7 running smoothly and fixing battery and slow charging issues.
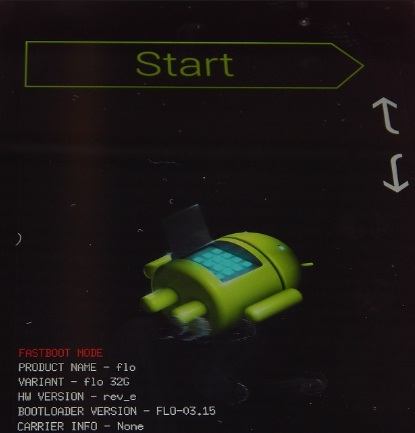
In order to wipe cache partition, you need to enter recovery mode on your Nnexus 7. While the keyboard shortcuts vary, here are some things to try:
- Turn off your Nexus 7
- To access recovery mode on your Nexus 7, press and hold the power button. When the Google logo appears, quickly start pressing the Volume Down key while still holding the Power key
- Navigate to Recovery Mode, use the volume keys to move and the power key, and select (press the volume key down twice then the power key).
- You will be greeted with a: No command prompt. That’s fine. This is normal.
- This message is only displayed on the screen for about 20 seconds.
- Press and hold the power key, press the volume key up, then release both keys.
- The recovery menu will now appear
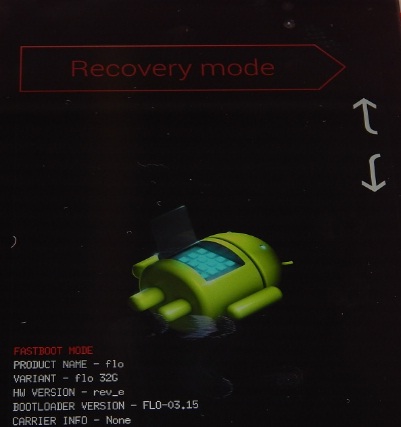
- You can then proceed to wipe the cache partition to solve the slow loading and
- Fix battery discharge of the Nexus 7.
- Press the volume key down three times, then press the power key and select.
- At the bottom you will see the message Wiping cache partition …
- When the process is complete, press the power button to restart your Nexus 7.
Method 2: restart the device
Many users have reported that simply restarting them helped them. To do this, you need to turn off the device for a few minutes and then turn it on again. This gives the battery some rest and the battery can successfully return to working condition.
Method 3: factory reset
In case you’ve tried all of the methods above but you still can’t see any change in the performance of your battery, your best bet is to perform a factory reset, which is more advanced than wiping the cache partition, which will wipe everything including all applications . This is how it’s done:
Go to Settings> Backup & reset> Factory data reset and device reset. That’s it. But don’t forget to back up the device beforehand, as this will erase everything from your mobile phone.
This will fix the problem for sure, but if the situation is still the same it is suggested to replace the battery to solve the problem.