7 practical tips at a glance
The winter weather this week lends itself to beautiful pictures. But how do you take the most beautiful snow photos with your iPhone? We have listed a number of practical tips.
Read on after the ad.
Contents
- 1 Taking snow photos on iPhone: 7 practical tips
- 1.1 1. Always set the exposure manually
- 1.2 2. Always try to create depth
- 1.3 3. Black and white photos are extra beautiful today
- 1.4 4. Post-processing is your best friend
- 1.5 Use bright colors to break up the white
- 1.6 6. Increase the contrast to make colors stand out
- 1.7 7. Make a slow motion video
- 1.8 Looking for more practical camera tips for your iPhone?
Taking snow photos on iPhone: 7 practical tips
As soon as the first flakes fall from the sky, it also starts raining snow photos on Instagram, Facebook and all other social networks. After all, with your iPhone in your pocket, you have an excellent camera at hand, if you know how to use it optimally. With these seven iPhone snow photo tips you can take the best pictures.
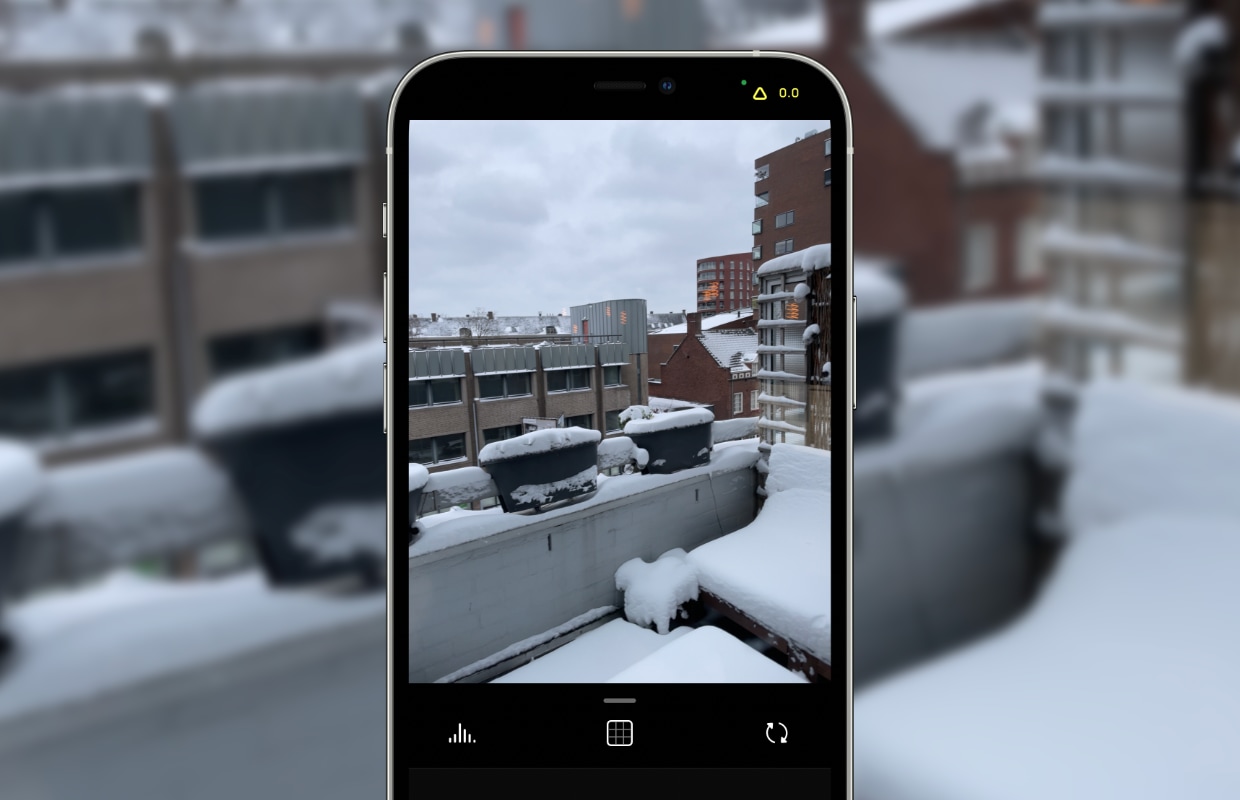
1. Always set the exposure manually
Because the snow photos you take have an abundance of white, your iPhone has extra trouble choosing the right exposure. So do not rely on the standard settings, but adjust the exposure manually. You do this by simply tapping your iPhone screen. For example, tap the sky to adjust the exposure, or choose an object in your scene to choose the ideal settings for it.
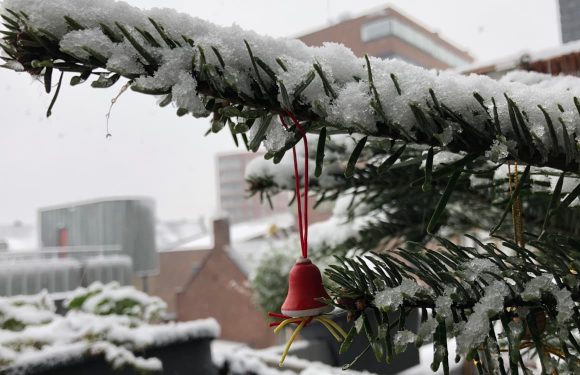
2. Always try to create depth
You often make photos more beautiful by creating depth in them, but that certainly applies to snow snapshots. If the sky, ground and nature around you is completely white, your photos can quickly turn into a white square. Always try to place something in front of the object or person you want to capture. A bush or twig in the corner can be enough to make a world of difference.
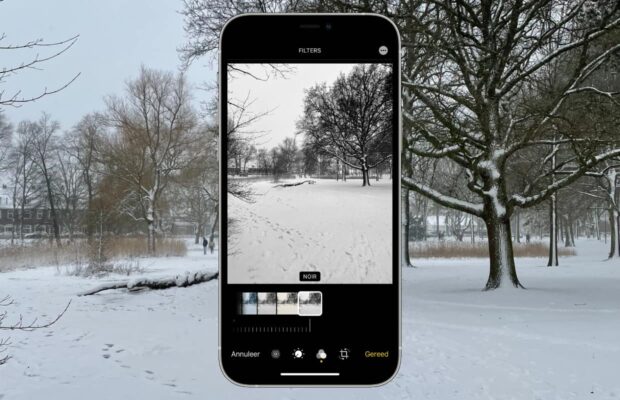
3. Black and white photos are extra beautiful today
Because snow covers the world under a white layer, it is worth taking some black and white photos. The effect makes snowflakes stand out even more, while the blacks stand out even more than usual. You can also apply this effect on your iPhone after taking a photo. In the Camera app you do this by tapping the icon with the three circle in the top right corner. Then choose the ‘Noir’ filter to make the world black and white.
4. Post-processing is your best friend
If you walk outside, chances are you don’t feel like editing your photos on the spot. Wait until you get home with that. View all your photos at your leisure, then use special photo editing apps to make your winter pictures even more beautiful. Looking for the best apps to do this? Then view the overview below.
Also read: Photoshopping on your iPhone: the 6 best (free) apps
Use bright colors to break up the white
Just like when choosing a black and white filter, a snow photo can be extra beautiful if you place a brightly colored object in your image. Have the person photographing you put on a brightly colored coat or bring an umbrella with bright colors. Due to the sleek white background, the subject of your photo stands out even more than usual.
6. Increase the contrast to make colors stand out
If you use the above tip and place a brightly colored object in your scene, we recommend increasing the contrast afterwards. This makes colors stand out even more, but be careful not to adjust the contrast too much. That quickly ensures that your photos look over-edited and therefore look unnatural.
7. Make a slow motion video
When the snow is still floating from the sky, you can finally use the slow-motion function of your iPhone. By making a video with this function, you can watch each individual flakes afterwards as it falls down. To make a slow motion video, open the Camera app and swipe left across the bottom of the screen until you reach “Slow Motion.”